Effective teaching requires clear communication and the creation of a comfortable, friendly environment or atmosphere in which to learn. Demonstrations that allow audience participation tend to be the most successful and the educational content can be specifically tailored to your audiences' age and capabilities.
The content of these demonstrations is inherently scientific. The intent is to promote the sciences in general and scientific glassblowing in particular. When possible, try to coordinate the glassblowing with concurrent student projects. For example, an experiment in the chemistry lab may mean more to a student if he/she uses a test tube that he/she has made.
Safety notes - Safety is always our first concern when working with glass, flames, and compressed gases. Set up your demonstration area in a manner to protect people and property. Use appropriate protective clothing and safety glasses, comply with all safety and fire regulations and guidelines and work with an assistant. |
Good demonstrations involve participation:
- Tell your students what they will be doing.
- Show your students what they will be doing.
- Promote instructor/student interaction regarding what they have just seen.
- Encourage questions, observations and reasoning. Have students answer some of the questions from their classmates.
Note: To encourage student participation, I have added some peer-led leading to my most recent demonstrations. Selected students spend a half day at the glassblowing facility learning some basic glassblowing skills and learning more about the glassblowing shop. Those students then become the "instructors" to their classmates when we do the demonstration a day or so later. The student instructors do an admirable job of sharing information with the class, answering questions and encouraging participation.
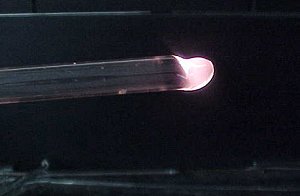
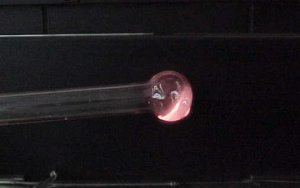
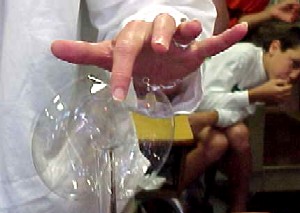
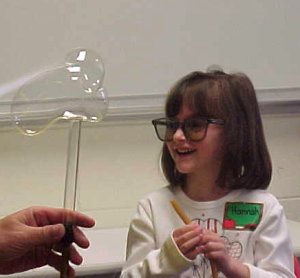
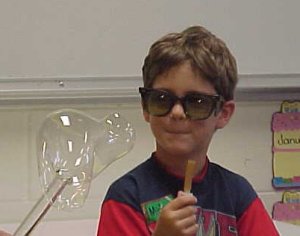
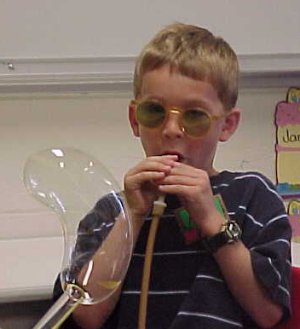
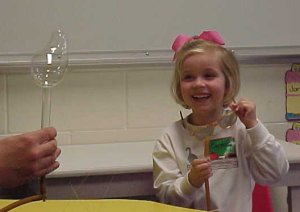
Demo 1: Blowing Glass Bubbles
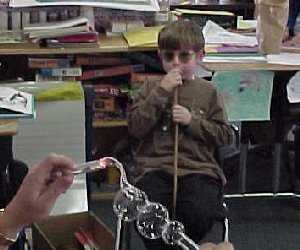
This demonstration allows students of all ages to participate without handling hot glass or the torch, and without coming close to the flame. The key is to have a rather long blowhose (with individual throw-away mouthpieces), keeping the students away from the hot glass and flame, but still close enough to observe the glass reacting to their "blowing" into the blowhose.
Some suggestions and questions to ask during an effective demonstration include:
- Use glass tubing in the 12 - 16 mm range.
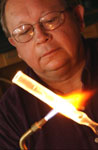
- Pull points making test tubes about 8" in length (you may want to have a number of these made up beforehand to save time). Pulling some points as a "warm-up" in front of the students allows you time to explain what you are doing, what they will be doing, and demonstrate that what you will be doing will not harm them. This is also a good time to entertain questions.
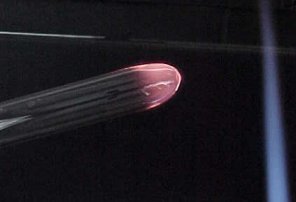
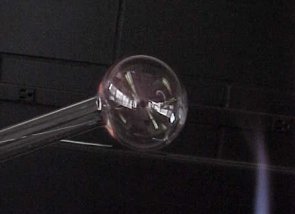
- When blowing the bubble vary the length of time the glass is in the flame. Does the student notice the difference in air pressure (blowing) required when the glass is hot? Cool? Cold?
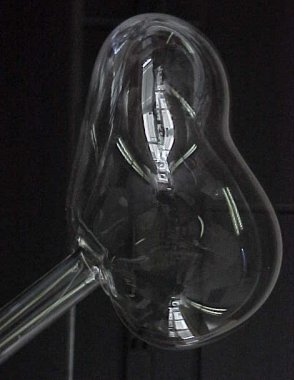
- Blow a large bubble. Touch the thin glass (It cools rapidly). Does it feel like glass or plastic?
- What happens when you blow too hard? Does it "pop"? (Be careful of the glass floating in the air).
- What happens when you inhale?
- Is the glass easier to control when you blow long and hard? Soft and little puffs?
- Why is this important to the scientific glassblower?
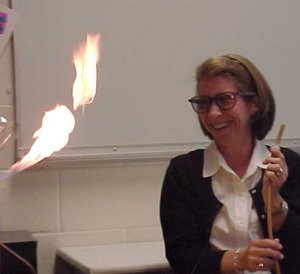
Demo #2: Cutting Glass
This demonstration simply shows various methods of "breaking" glass, but in a way that we want it to break. Some suggestions/approaches here include:
- "Accidentally" drop a beaker or flask - this is a great way to get the attention of your class. If it breaks then it's a good example of an "uncontrolled " break...but we discuss how that's not very useful to the glassblower). If it does not break, it allows us to discuss the many characteristics of glass and how those can be used in glass apparatus for examples, roll glass design (bellows and coils). It's also a good entry into a discussion of the differences between tempered, annealed, and stressed glass.
-
Controlled breaks - First the scratch and snap and then the hot rod with a scratch. If you are in the glass shop you can show or explain the the cut-off saw, etc. Be sure to explain the applications.
- Flame cuts and scissors cut work well. The scissors cut can be performed by the student.
Simply heat a length of tubing as if you were to pull a point. While still red hot have the student quickly cut the tube in half!
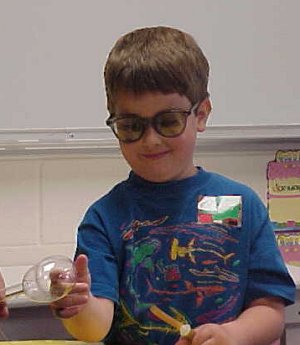
Demo # 3: Silvering Glass
This demonstration requires more preparation than most, but is a good way to incorporate a little "chemistry" into the lesson plan. This demonstration has been successfully given to students in the 6-8 year old bracket, but may be better suited for those a little older. The amount of technical information given may vary quite a bit depending on the age group.
For the glass preparation you can have the students blow bulbs (using the same basic instruction as in Blowing Bubbles). 19 mm medium wall tubing works well. Try to make bulbs about 25-30mm as your objective and be sure they are not thin!
Tips for the silvering:
- Prepare fresh silvering solutions beforehand.
- Protective clothing is a must. Eyewear. a lab coat, and latex gloves are required (Why?).
- Have students add the solution mixtures to the bulb. Use the steps outlined in the silvering link given above. (What chemicals are being used?)
- Complete the silvering process by shaking the bulb while it is submerged in a warm water bath. (What type of chemical reaction takes place? What are the variables?)
This demonstration requires assistance and works well in breaking up the class into two groups, maintaining interest levels over an extended period of time.
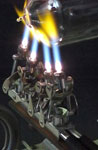
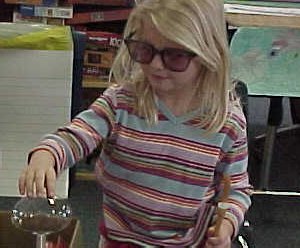
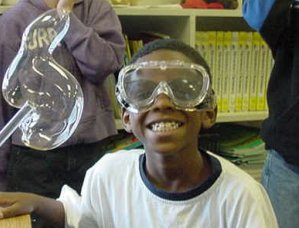
The rewards
A few minutes of your time can create lifetimes of happy memories. Here are just a few examples of the rewards you can reap with effective glassblowing demonstrations: